| SymptomThis article provides assistance with virtual scrolling (horizontal scrolling, vertical scrolling, multi-finger scrolling) settings method on idea laptops configured with Synaptics, ALPS or Elan touchpad running Windows XP/Vista/7/8.1. Before adjust Device Settings via Control Panel > Mouse, make sure touchpad driver installed on your PC is the latest, if not, please go to support site to download and install. Steps to download drivers:
Affected ConfigurationsThe above symptom is associated with, but not limited to, the following systems:
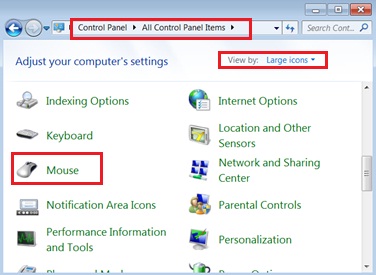
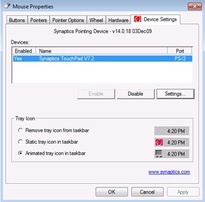
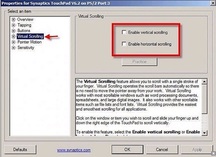
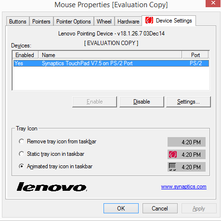
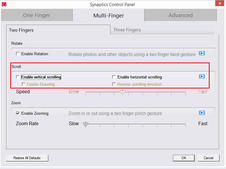
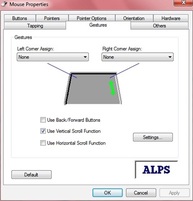
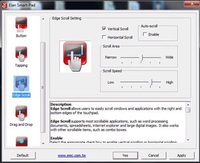
To enable touchpad scrolling, you need to set relevant options under Mouse property window. To open this window, go to “Control Panel” > “Mouse” as below figure shows. Synaptics touchpad setting in Windows 7/Vista/XP 1. Switch to the tab of "Device Settings”, click "Settings". 2. Click “Virtual scrolling” and check or uncheck "Enable vertical scrolling", "Enable horizonal scrolling". Synaptics touchpad setting Windows 8.1 1. Switch to the tab of "Device Settings”, click "Settings". 2. Click “Multi-Finger” and adjust "Scroll" option accordingly. ALPS touchpad setting Double-click “Mouse” --> click the “Gestures” tag --> select “Use scrolling”. ELANTECH (KTP) touchpad setting Lenovo Thinkpad T440P T440S T450P T450S W540 T431S Touchpad with Three Buttons. |
|
1 Comment
We provide these parts for Lenovo IBM Thinkpad T410 & T410I:
Battery for Lenovo IBM Thinkpad T410 & T410I Keyboard for Lenovo IBM Thinkpad T410 & T410I Fan for Lenovo IBM Thinkpad T410 & T410I LCD Cable for Lenovo IBM Thinkpad T410 & T410I LED Cable for Lenovo IBM Thinkpad T410 & T410I LCD Inverter for Lenovo IBM Thinkpad T410 & T410I LCD Hinges for Lenovo IBM Thinkpad T410 & T410I
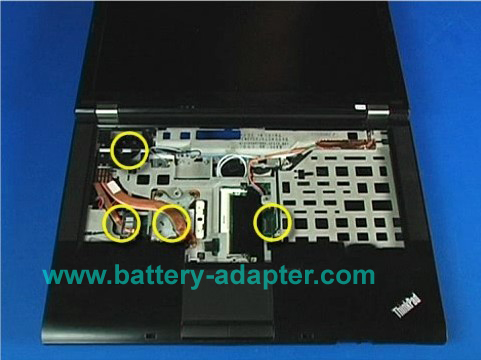
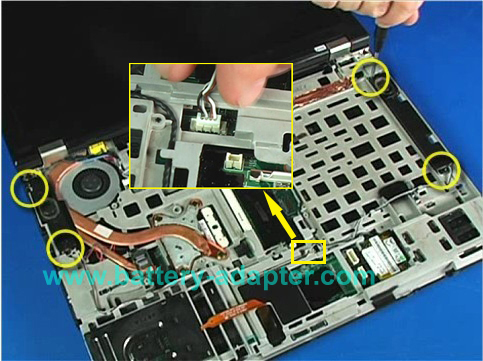
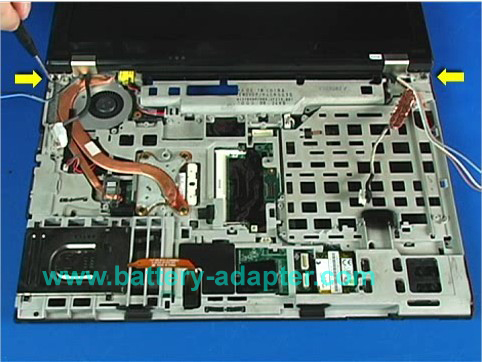
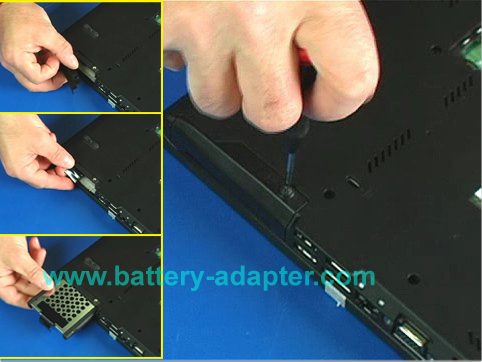
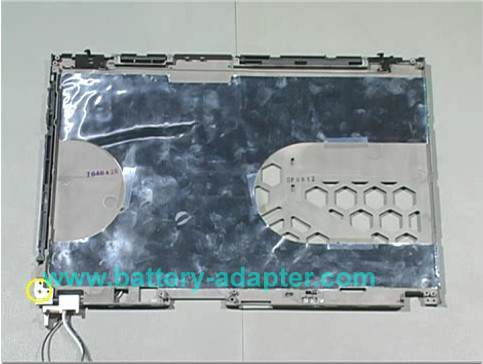
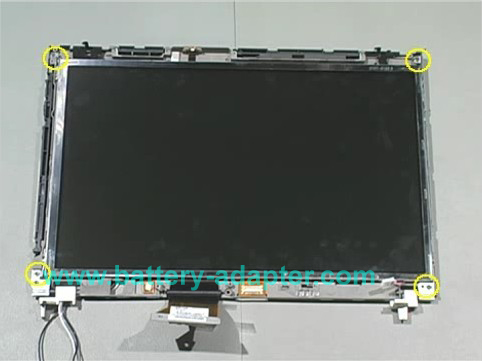
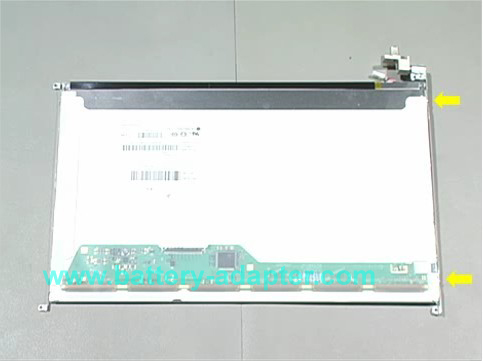
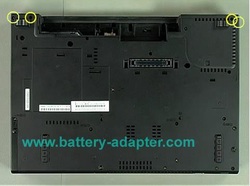
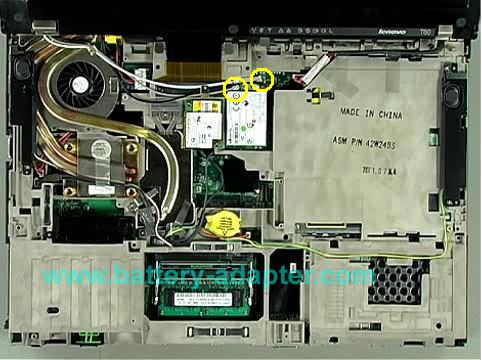
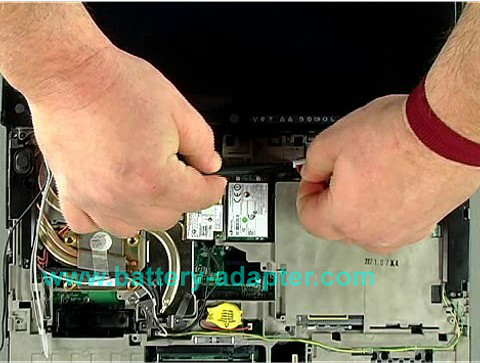
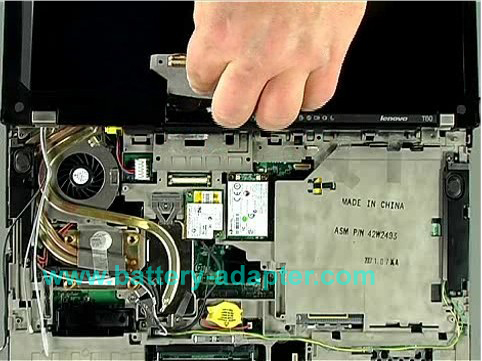
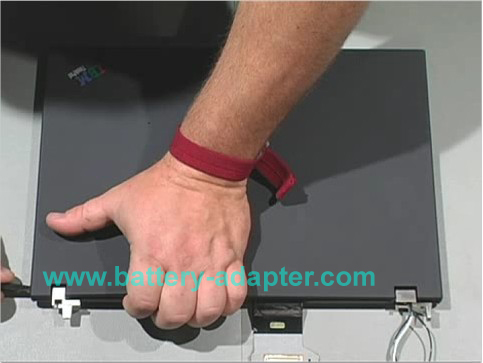
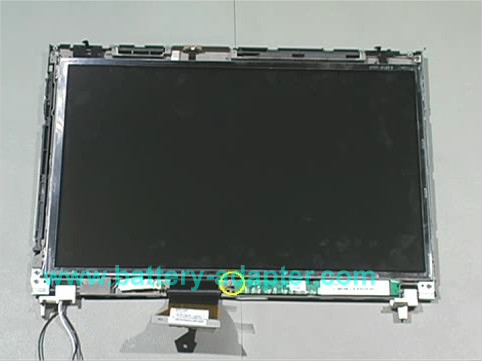
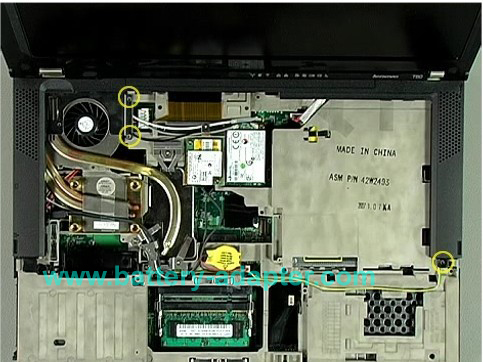
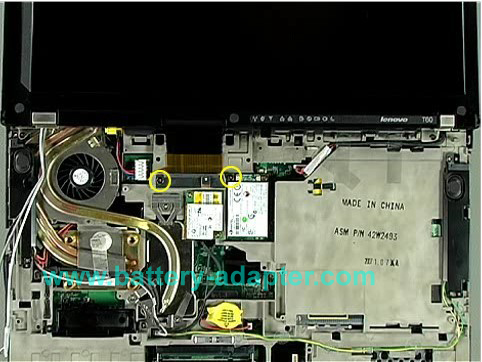
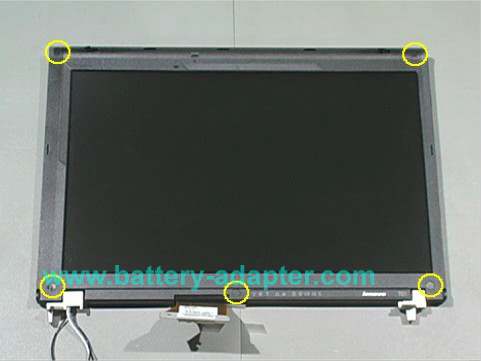
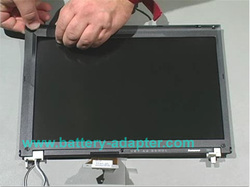
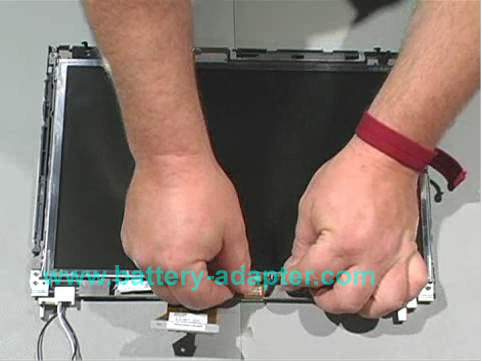
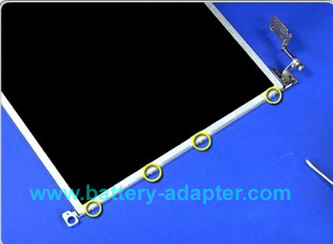
This is the 2nd part of "How to Disassemble Lenovo Thinkpad T61 R61 R61i LCD".
How to Disassemble Lenovo Thinkpad T61 R61 R61i LCD In this guide, the actual laptop is Thinkpad T61. First of all, please unplug the power adatper and remove the battery. Then remove the palm rest and keyboard. You can refer to How to Replace Lenovo Thinkpad T61 Keyboard.
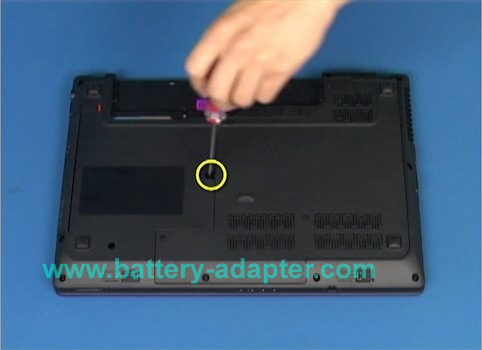
1 Turn your Thinkpad laptop over and find all the screws with the small keyboard symbol next to them. Set the screws aside as they are small and easy to lose!
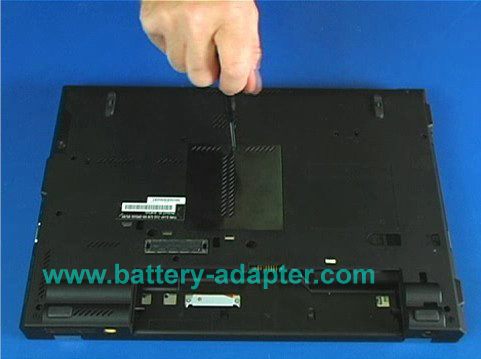
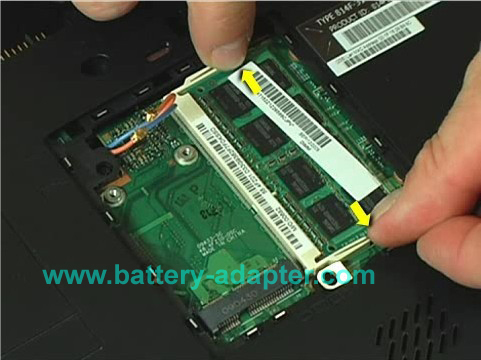
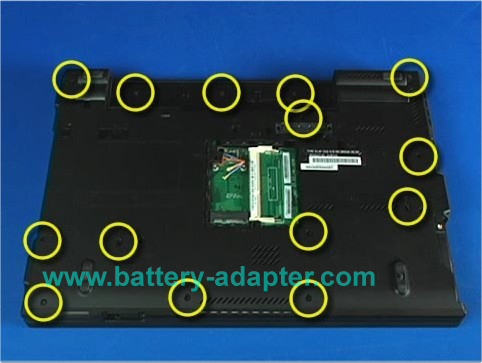
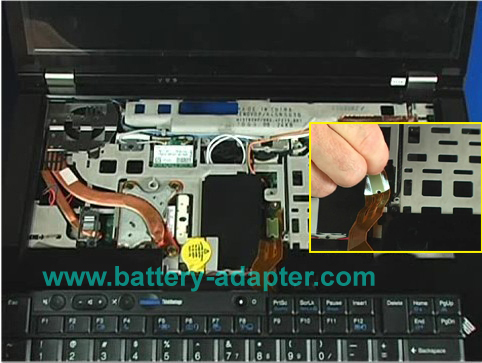
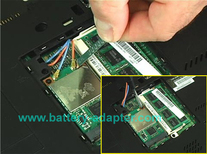
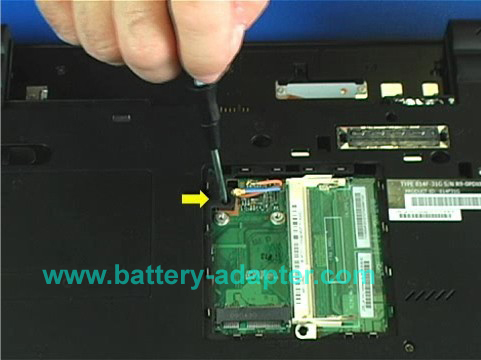
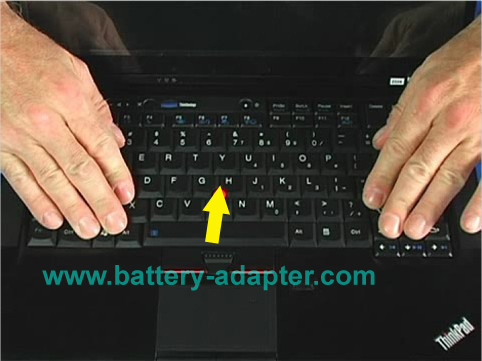
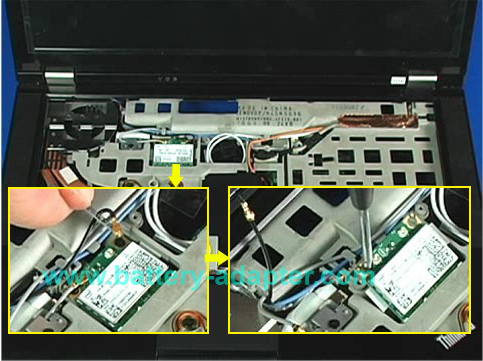
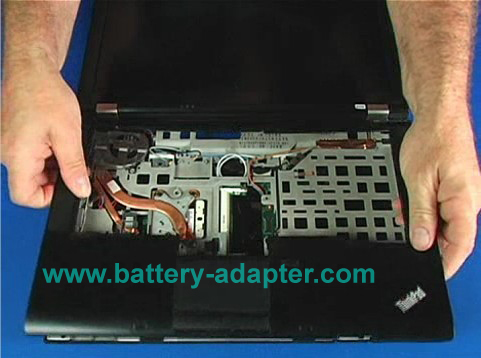
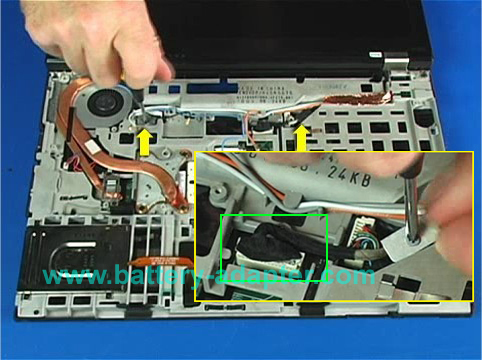
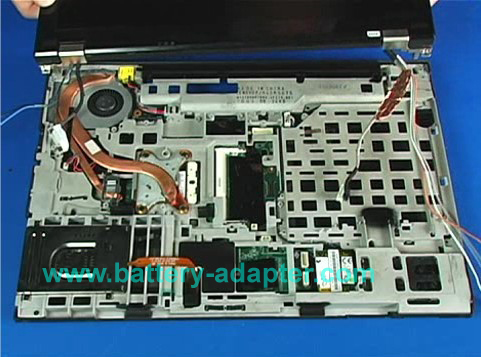
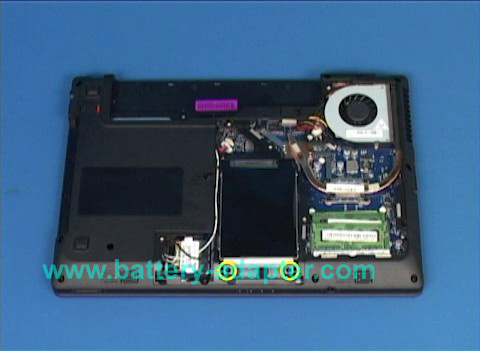
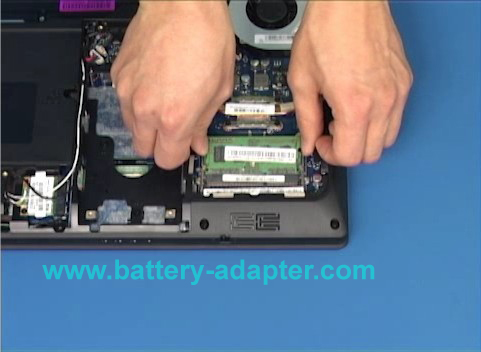
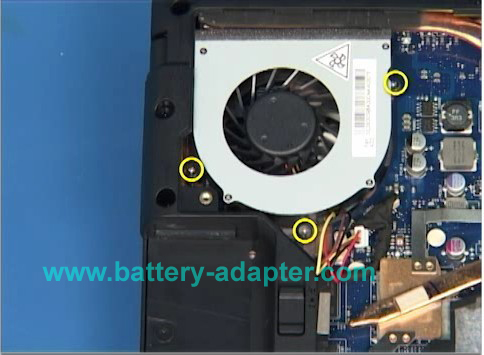
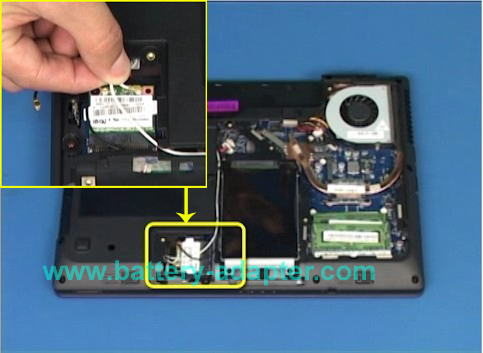
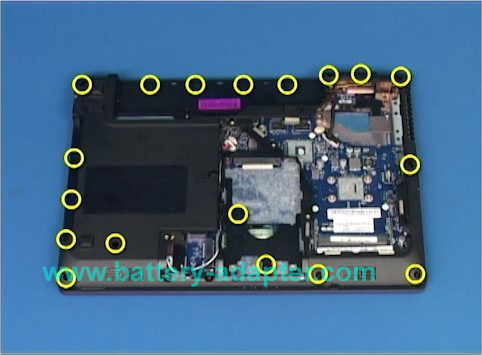
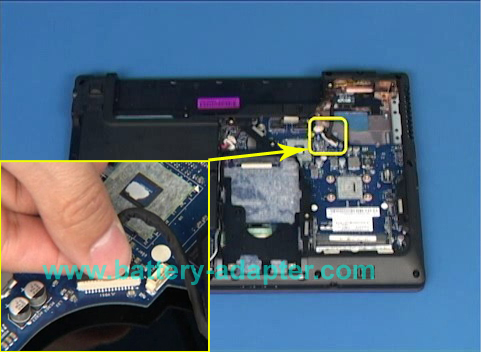
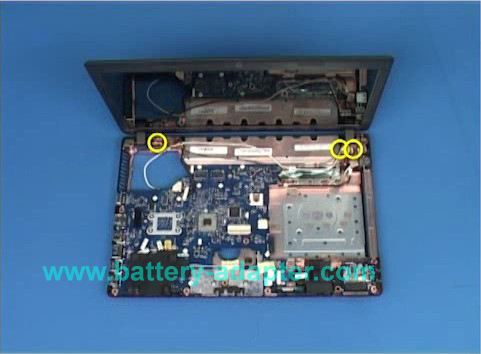
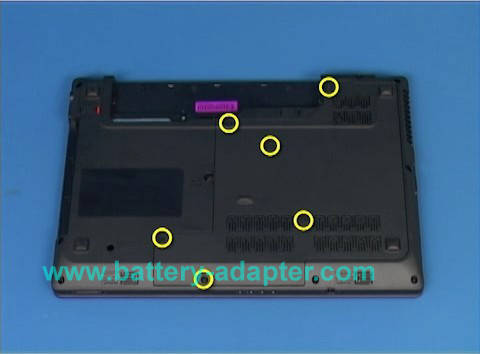
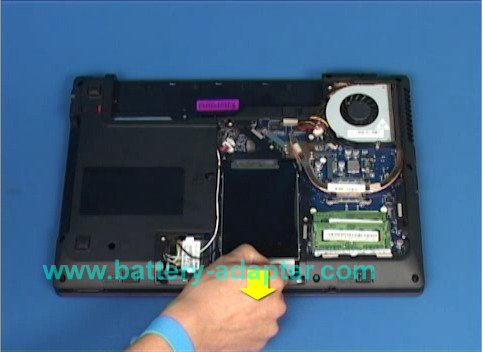
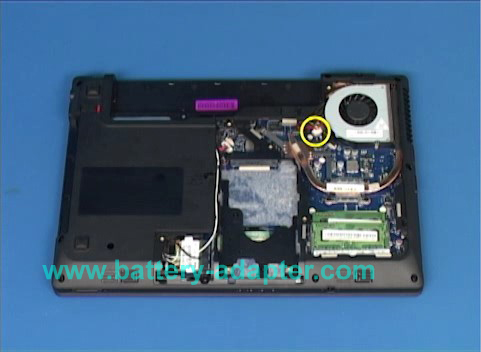
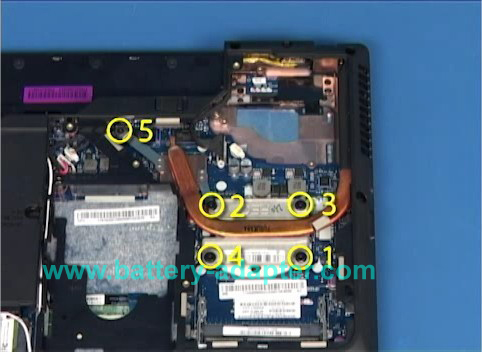
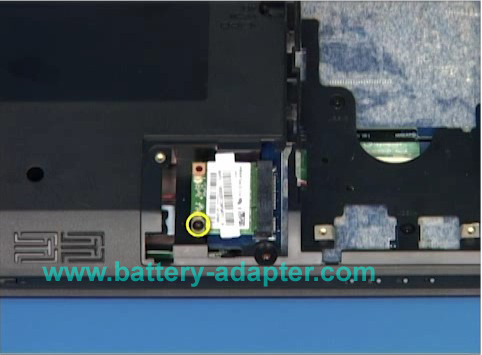
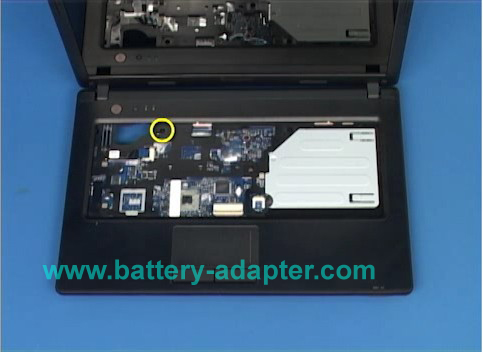
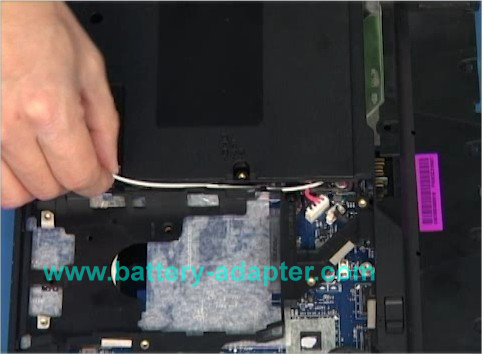
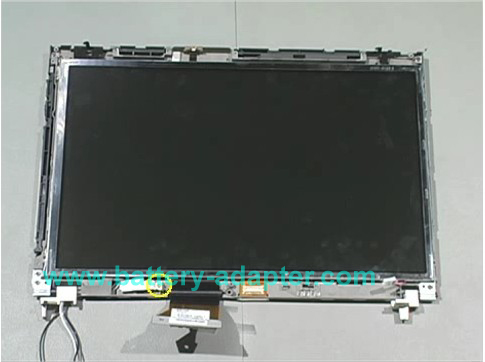
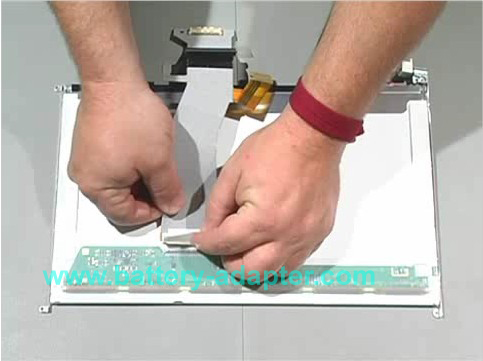
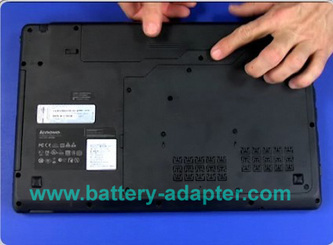
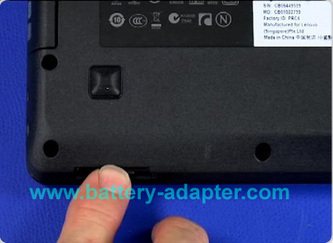
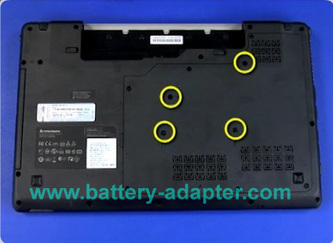
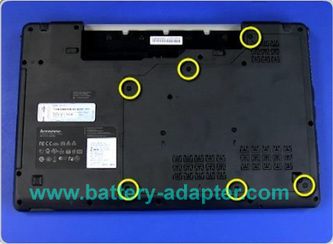
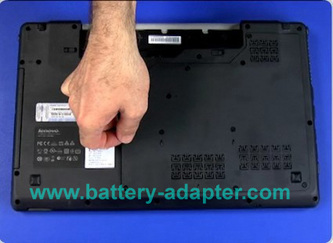
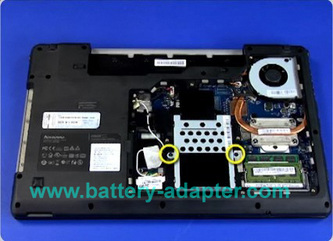
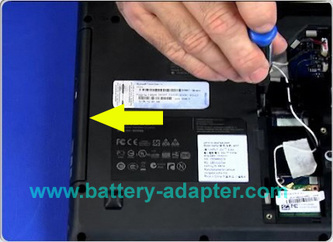
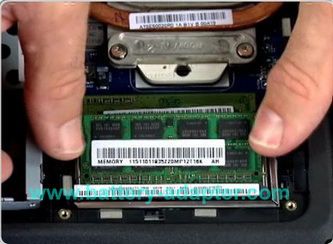
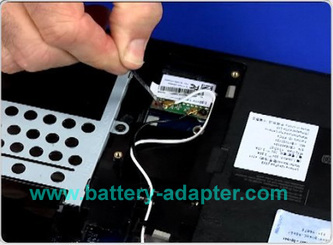
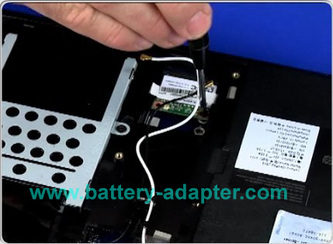
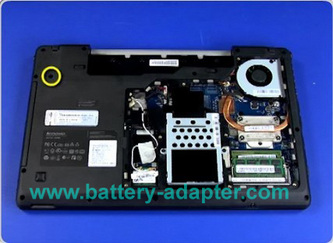
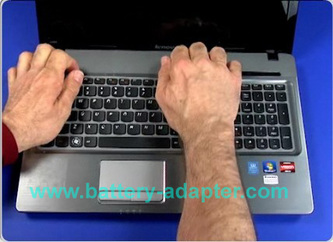
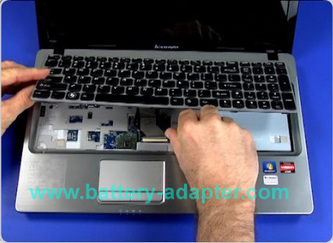
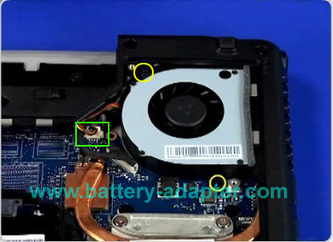
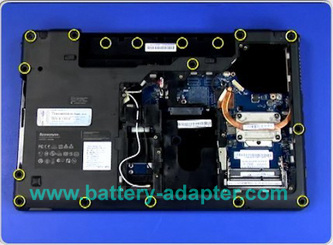
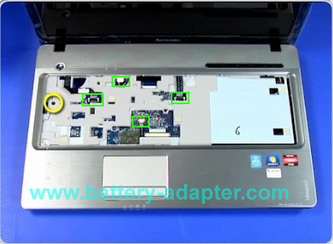
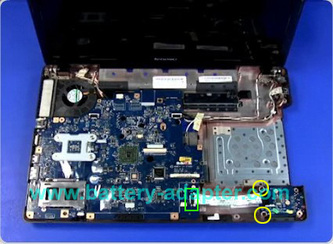
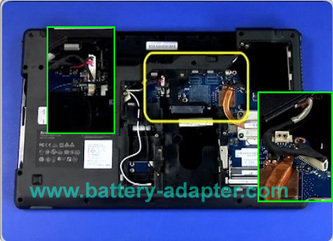
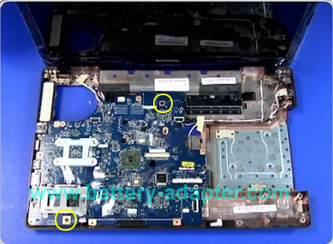
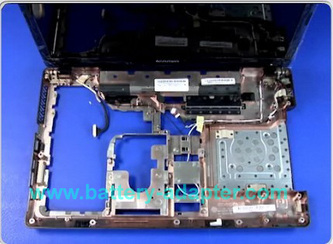
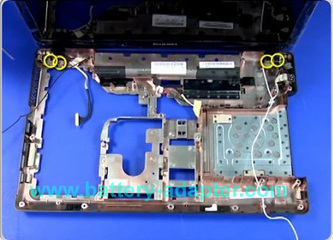
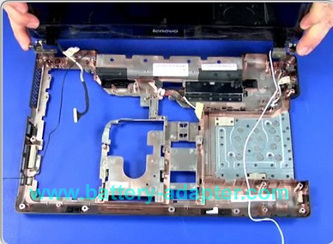
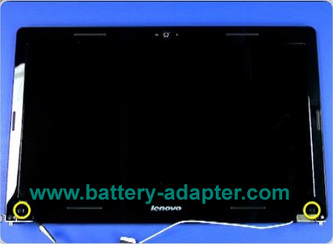
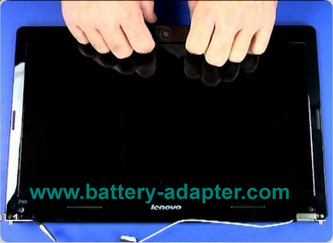
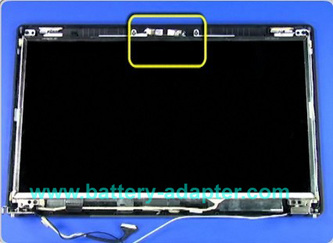
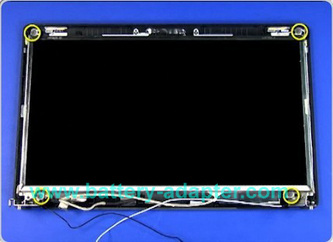
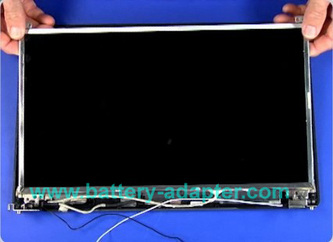
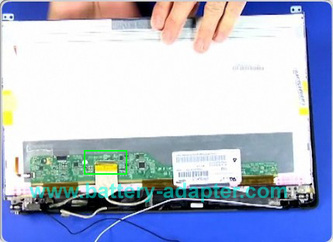
2 Turn your laptop face up and pull the bottom of the keyboard up like a car hood. 3 Slide the keyboard forward, and lift it up and out of the laptop. There will be a ribbon cable attached to the motherboard. Detach that and take the entire keyboard out. 4 Knock out the excess crumbs and dirt, and prepare yourself for the next steps! 5 Plug up your sink and fill it with warm water, enough to allow the keyboard to submerge. Add some dishwashing soap and if you have a sprayer on your sink, use that to spray our the keyboard before letting it soak in the warm soapy water for 30 minutes or so. 6 When you remove the keyboard, rinse it off with the sprayer or the faucet to get off any excess grime, dust and residual soap. 7 Dry off by blotting with a paper towel and then put on a dish rack to dry. You can even shake off any excess moisture. *NOTE* You ABSOLUTELY MUST let the keyboard dry ENTIRELY. I would say to leave it there overnight to ensure it is completely dry. 8 when the keyboard is dry, reinstall it by plugging the ribbon cable back into the motherboard and sliding it into place. Close the hood and turn the laptop over to reinstall the screws. 9 Fire up the laptop. You may get a setup screen since the keyboard was removed and reinstalled. Hit F1 for diagnostics and save and continue with the defaults. You can do it according to the pictures below. The computer in the pictures is Lenovo Ideapd Z565. The Lenovo Ideapd Z560 is similar with Ideapd Z565.
This is the Hardware Maintenance Manual of Lenovo IBM ThinkPad X200, X200s, X200si, X201, X201i, and X201s
We supply below products for Thinkpad X200 X201:
1. Lenovo Thinkpad X200 X200S X201 Keyboard. 2. Lenovo Thinkpad X200 X200S X201 CPU fan. 3. Lenovo Thinkpad X200 X200S X201 Inverter. 4. Lenovo Thinkpad X200 X200S X201 LCD hinges 5. Lenovo Thinkpad X200 X200S X201 LCD Cable Lenovo laptops, and laptops in general, are prone to overheating due to their cramped construction. When running many programs on the laptop, the CPU becomes very hot, which can cause the laptop to shut down. Some newer Lenovo laptops have adjustable fan control, which means the CPU fan speeds vary directly with the CPU temperatures. However, if you want to keep your fan speed at 100% all of the time, you can do so by changing settings in the BIOS.
1. Download the latest BIOS update for your laptop and install it (see link under References below). Turn off your computer. 2. Turn on your Lenovo laptop. Right when the boot screen shows up (the screen that lists the parts in your laptop and is in black-and-white letters), hold the "Delete" key to be brought to the BIOS settings. 3. Select "System Monitor" on the BIOS main menu. Now access "Fan Control" and then choose "CPU Fan Speed Control." 4. If the control is on "automatic," change it to "manual." Type in the percentage at which you would like the CPU fan to operate (100 would be 100%). 5. Click "F10" on the upper-right corner of the keyboard and restart your laptop. After the laptop restarts, the Lenovo CPU fan will be noticeably louder. The Lenovo IdeaPad S10 is a highly portable netbook computer that includes both an integrated webcam, wireless Internet transciever and Bluetooth connectivity. If you want to install a Bluetooth accessory (such as a headset, mouse, or video game controller), the process is simple thanks to the pre-installed Bluetooth hardware and setup utility included with your Lenovo IdeaPad S10.
|
AuthorLaptop Part Store. Archives
December 2015
Categories |
||||||||||||||||||


 RSS Feed