How to Replace HP Envy 15 CPU & GPU Cooling Fan
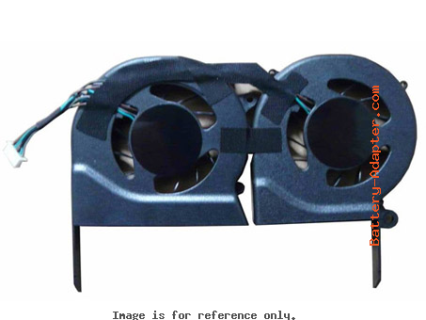
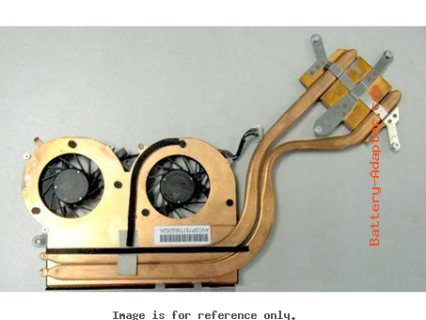
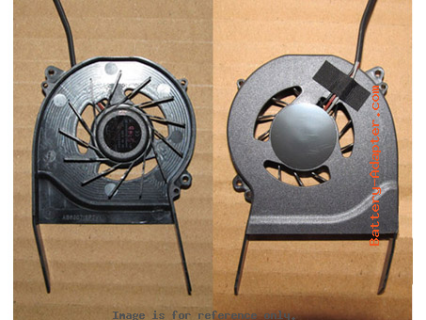
New HP Envy 15 GPU Cooling Fan - AB6305HX-QB3
$
23.99
Specification:
P/N: 576838-001, AB6305HX-QB3(SP7V), AVCSP7103A
Power: DC 5V
Info: 3-wires 3-pins connector
Condition: Brand New
Warranty: 3 Months
Availability: in stock
Payment | Delivery: PayPal | HongKong Registered Air Mail With Tracking Number
Free Shipping to Worldwide Range!
P/N: 576838-001, AB6305HX-QB3(SP7V), AVCSP7103A
Power: DC 5V
Info: 3-wires 3-pins connector
Condition: Brand New
Warranty: 3 Months
Availability: in stock
Payment | Delivery: PayPal | HongKong Registered Air Mail With Tracking Number
Free Shipping to Worldwide Range!
Notice: Please compare the pictures with your original one before the purchase.
Compatible Laptop model#:
Related Product:
How to Replace HP Envy 15 CPU & GPU Cooling Fan
|
Before removing the fan/heat sink assembly, you need to remove the keyboard. If you are not sure how to remove these parts, you can refer to the post How to Remove the keyboard from HP Envy 15.
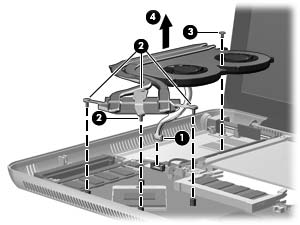
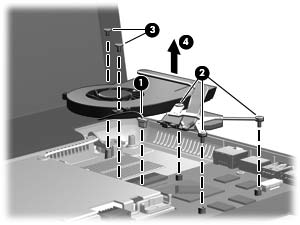
In HP Envy 15, there are two fans, one is for CPU and the other one is for GPU. Remove the HP Envy 15 CPU fan/heat sink assembly: 1. Disconnect the fan cable 1 from the system board. 2. Following the 1, 2, 3, 4 sequence stamped into the processor fan/heat sink assembly, loosen the four Phillips PM2.0×6.0 captive screws 2 that secure the processor fan/heat sink assembly to the system board. 3. Remove the Phillips PM2.0×3.0 screw 3 that secures the processor fan/heat sink assembly to the system board. 4. Remove the processor fan/heat sink assembly 4. ✎Due to the adhesive quality of the thermal material located between the processor fan/heat sink assembly and system board components, it may be necessary to move the processor fan/heat sink assembly from side to side to detach it. Remove the HP Envy 15 GPU fan/heat sink assembly: 1. Disconnect the fan cable 1 from the system board. 2. Following the 1, 2, 3 sequence stamped into the video fan/heat sink assembly, loosen the three Phillips PM2.0×6.0 captive screws 2 that secure the video fan/heat sink assembly to the system board. 3. Remove the two Phillips PM2.0×3.0 screws 3 that secure the video fan/heat sink assembly to the system board. 4. Remove the video fan/heat sink assembly 4. ✎Due to the adhesive quality of the thermal material located between the video fan/heat sink assembly and system board components, it may be necessary to move the video fan/heat sink assembly from side to side to detach it. Reverse the procedure to install the HP Envy 15 fan. |
